


Tissue Paper Fall Leaf Craft
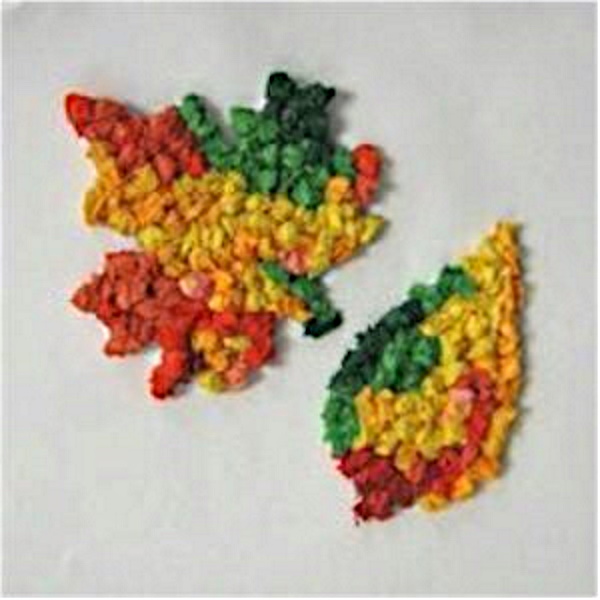
Make your own beautiful Tissue Paper Fall Leaves with these patterns from FreeKidsCrafts.com. There is no right or wrong way to decorate these leaves. Just cut yellow, red, orange and green pieces of tissue paper and let each child create their own original design. Have children bring in fall leaves to see how each one is different.
Trivia
Fall colors are caused by the amount of sugar in leaves. The more red in the leaf, the more sugar that leaf is storing. That is why Maple trees are so vibrant. Evergreens don’t change because their leaves have a thick wax covering that protects the chlorophyl (green) in the leaves. Source: 1 Country – 10 Fun Facts About Fall That Will Make You Sound Smart
Supplies
- Heavy weight paper or card stock
- Leaf Pattern (Click on Printables)
- Tacky glue
- Tissue Paper: red, yellow, orange and green
- Scissors
Instructions
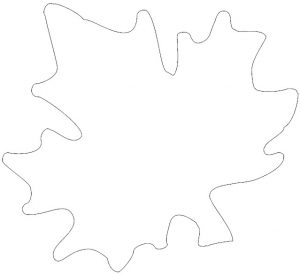
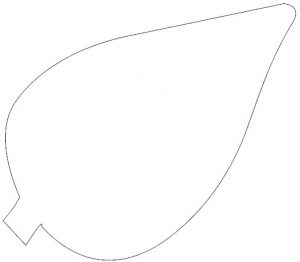
- Print out Leaf patterns.
- Cut out the outline before you glue the tissue paper.
- Cut tissue paper into 2″squares. Crumple each piece into a tight ball. Dip into white glue and place onto pattern.
- Start placing the tissue paper balls in the small sections first to make sure they keep their definition. Continue crumpling and gluing down pieces until the entire pattern is filled.
Patterns, Templates and Printables
Click on a pattern to open it in a new window to print
![]()


Supplies
.
Instructions
.
Contributor
Want to have some creative family time? Print out our SudBudz® Masks and get crafty with the kiddos! More than just a typical Fizzy Bath Ball, SudPrize® is a first ever line of skin-loving and natural bath products that make bath time Fun for Kids and Easy for Moms. A Free companion App, SudBudz® engages your children into an immersive world of special and unique characters called SudBudz®.
0 thoughts on “Tissue Paper Fall Leaf Craft”