


Easy Scrunchie for Beginning Sewers
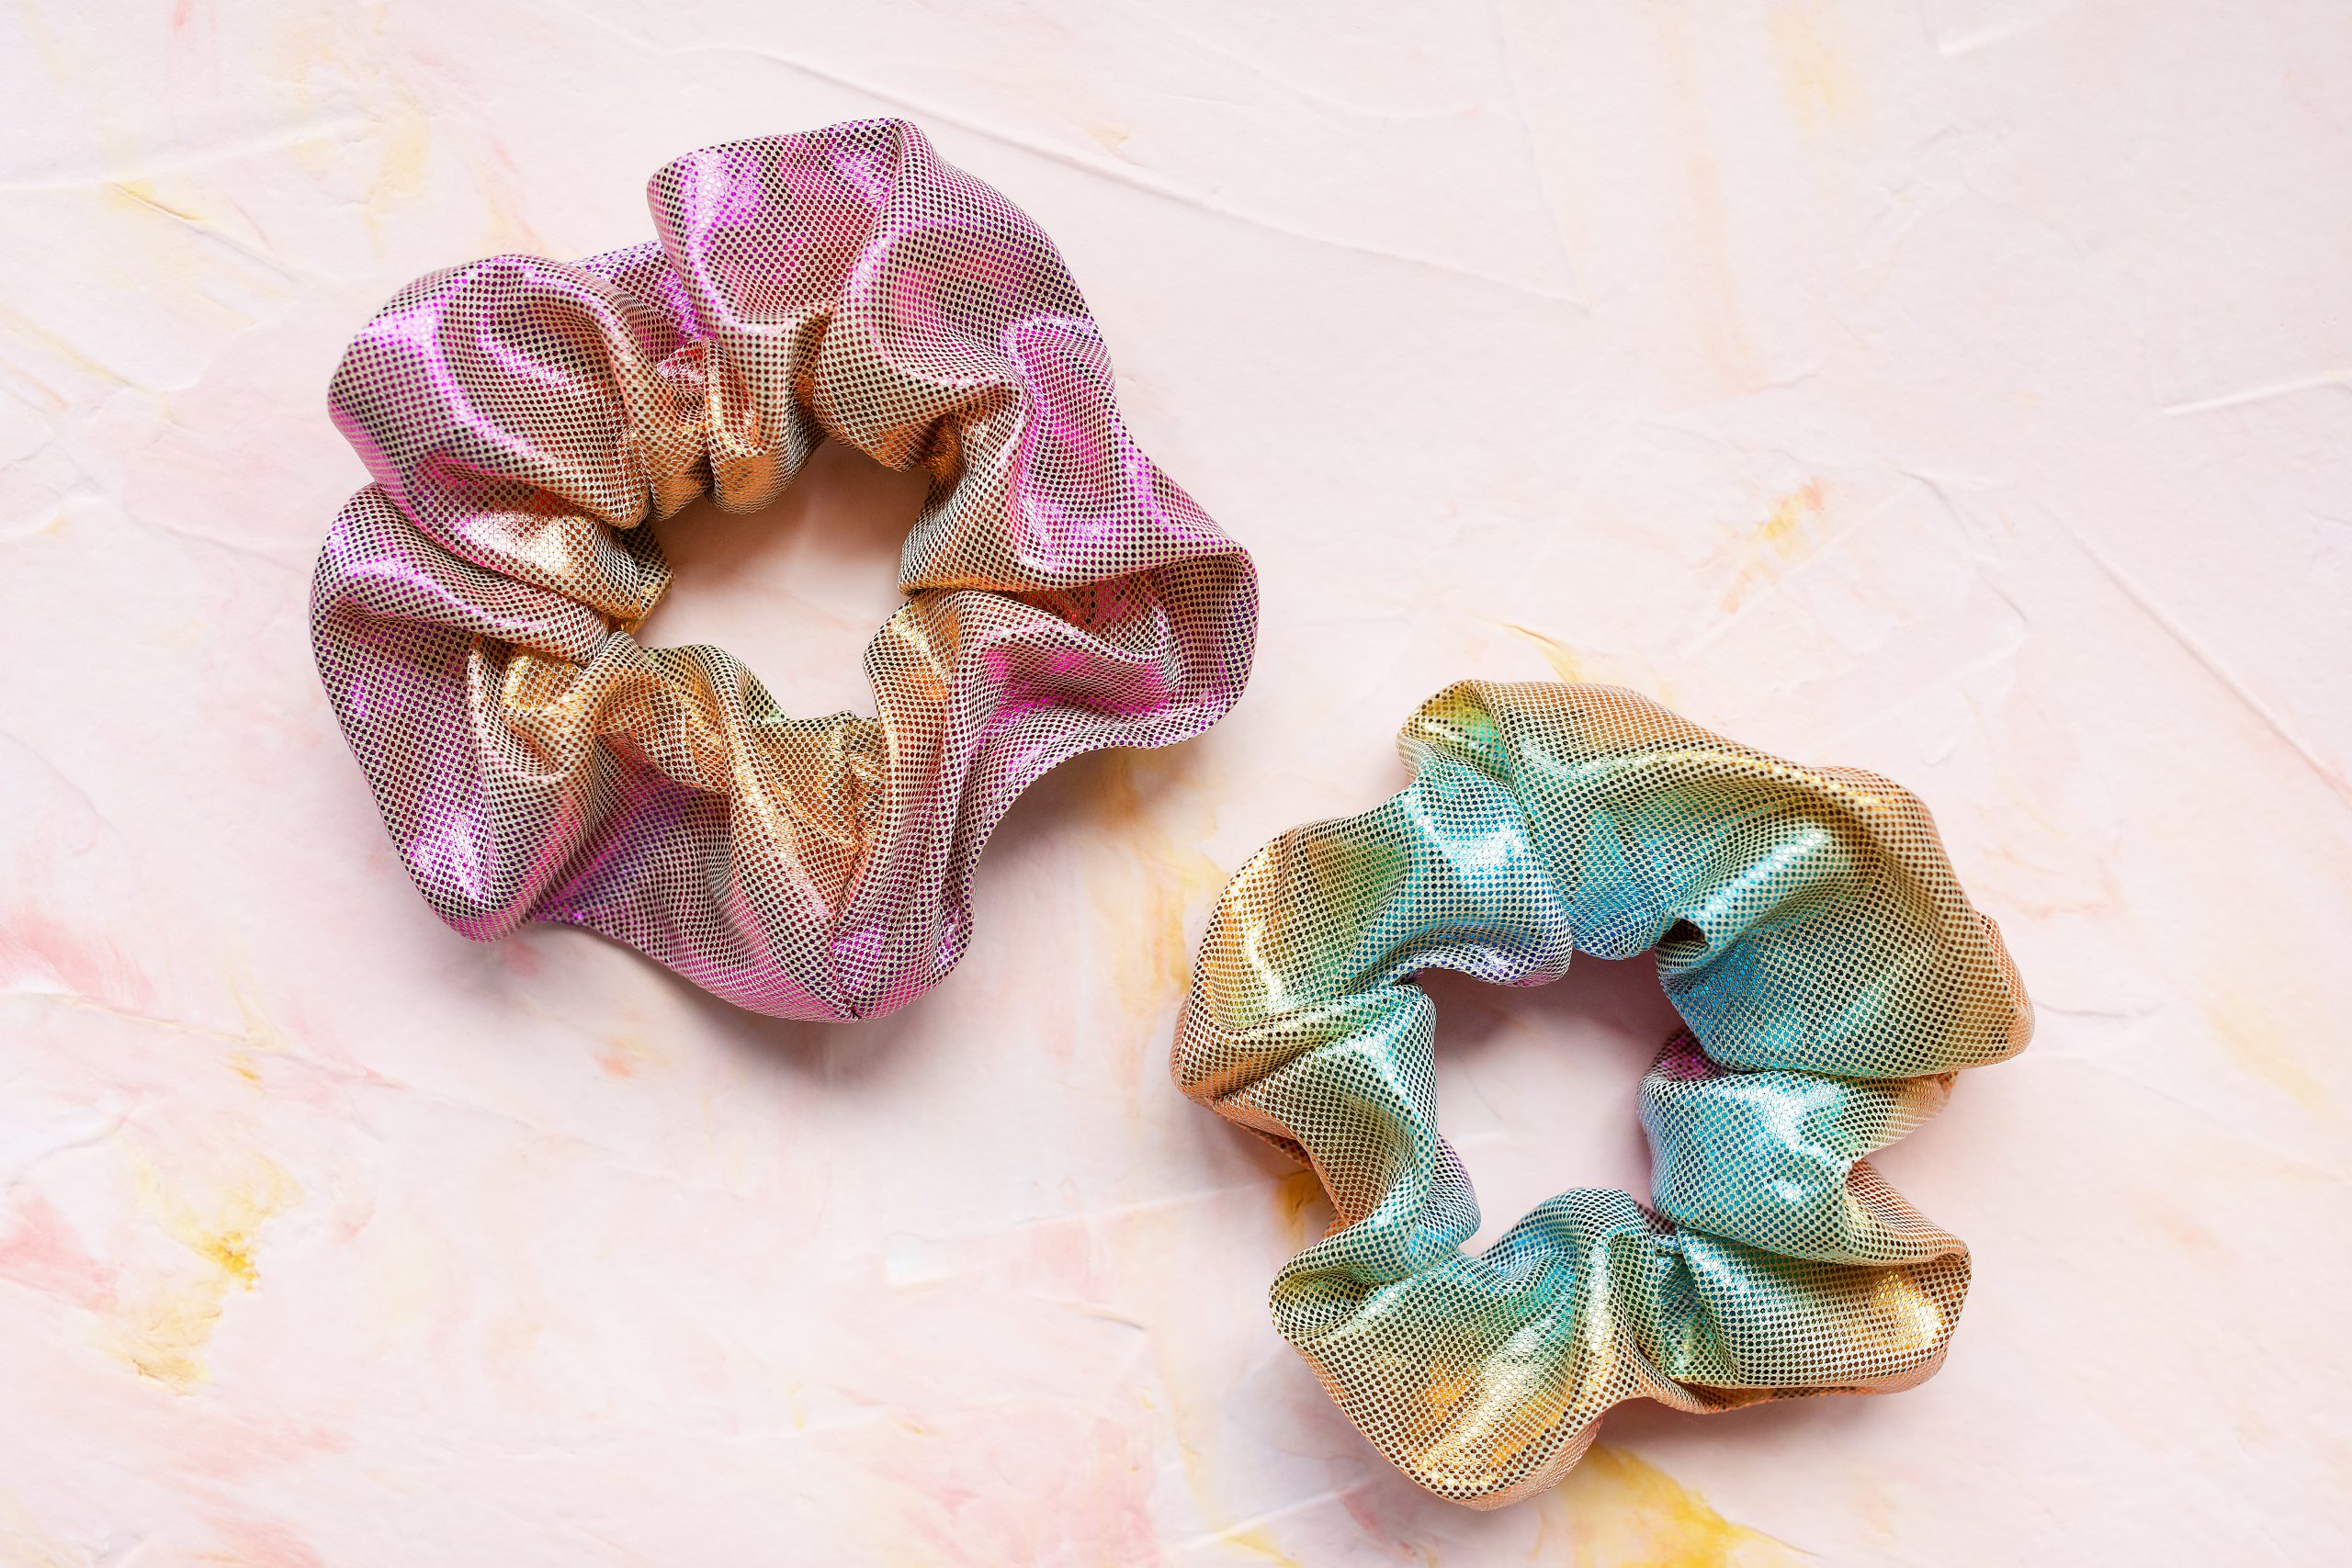
This Easy Scrunchie for Beginning Sewers will have the preteens and teens making one for every outfit they own. It doesn’t matter what the weather the scrunchie is always in style. In the summer it keeps you cool and long hair off the neck. In the winter velvet and silk scrunchies make a nice addition to a special outfit. Athletes need them to keep their hair under control during exercise so bring out the sewing machine and all your fabric scraps and see what you can do. Hey Mom remember when you put your hair in a scrunchie. What was old is new again.
Trivia:
The first scrunchie was invented in 1963 but didn’t become popular until the 1980’s when music icons began to wear them. Source: Pre Wow – History of the Scrunchie.
Supplies
- Fabric
- Straight Pins
- 9″ of Elastic (1/4″)
- Safety pin
- Scissors
- Tape measure
- Sewing Machine or Needle / thread
Instructions
- Cut fabric into a 3-1/2-by-22-inch strip.
- Fold fabric inside out lengthwise and pin along the center.
- Sew a straight line along the edge and remove pins.
- Attach a safety pin at one end and weave the pin through the inside of the tube and pull it out on the opposite end.
- Take 9″ elastic and attach pin to one end.Thread the elastic through the tube.
- Remove the pin and tie the elastic into a knot.
- Fold in the edges to create an even seam and tuck one opening over the other. Pin to hold the fabric in place and sew straight across to join the two sides.
Now you have made your first scrunchie and I know you will want to make many more.
![]()


Supplies
Instructions
Contributor
Want to have some creative family time? Print out our SudBudz® Masks and get crafty with the kiddos! More than just a typical Fizzy Bath Ball, SudPrize® is a first ever line of skin-loving and natural bath products that make bath time Fun for Kids and Easy for Moms. A Free companion App, SudBudz® engages your children into an immersive world of special and unique characters called SudBudz®.
0 thoughts on “Easy Scrunchie for Beginning Sewers”