


DIY Fall Placemat (Great for Thanksgiving)
This DIY Fall Placemat is the perfect project for kids to get involved with in anticipation of the Thanksgiving feast. Whether it is just your family or expanded to add a few close family members this special addition to your table setting is perfect. The kids will proudly announce to all in attendance that these were their contribution.
Trivia
The first Thanksgiving was held in the autumn of 1621 and included 50 Pilgrims and 90 Wampanoag Indians and lasted three days. Source: All Parenting – 20 THANKSGIVING FUN FACTS THAT WILL TOTALLY IMPRESS THE KIDS
Supplies
- Shaving Cream (unscented)
- 8½x11 Card Stock or Heavy Cardboard (this is a minimum size)
- Disposable Tablecloth, Newspapers etc.
- Stylus
- White Paper
- Scissors
- Glue Stick
- 12″ x 18″ Construction Paper in Fall Color
- Acrylic Paint or Food Coloring
- Laminating Roll
- Disposable Gloves (optional)
- Paint Smock, Apron or Old Tee Shirt
Instructions
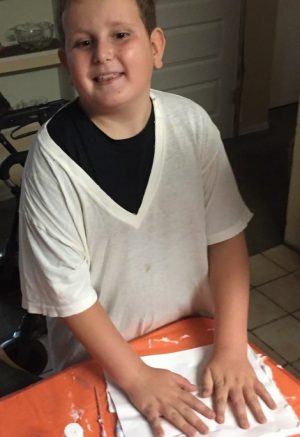
- Protect your surface with the disposable tablecloth, newspapers or whatever you normally protect your table with when crafting with messy materials. And of course make sure the kids are dressed with the mess in mind.
- Next spray the Card Stock or Cardboard with a layer of shaving cream (don’t use Noxzema or everything will smell like it) It doesn’t need to be a thick layer.
- Put small dots of paint or food color in various spots on top of the shaving cream. (Here is where you decide about the disposable gloves.) The acrylic paint will wash off but the food coloring will stain the fingers. Have the kids choose 3 colors, keeping the Fall scheme in mind. Of course if their favorite colors are more unique, don’t limit their creativity.
- With the stylus. swirl the paint around in the shaving cream, leaving some of the swirls white with the shaving cream showing through.
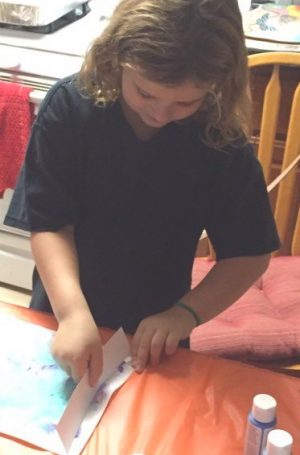
- Next take a 8.5 x 11 piece of paper and lay it on top of the shaving cream and color mixture and press down. Here is where you will be glad you protected the table. Lift the paper off and scrape the excess shaving cream/paint mixture off with a scraper made of scrap card stock or cardboard. Let dry. You may be able to get two prints from each mixture by adding a little more color to the shaving cream.
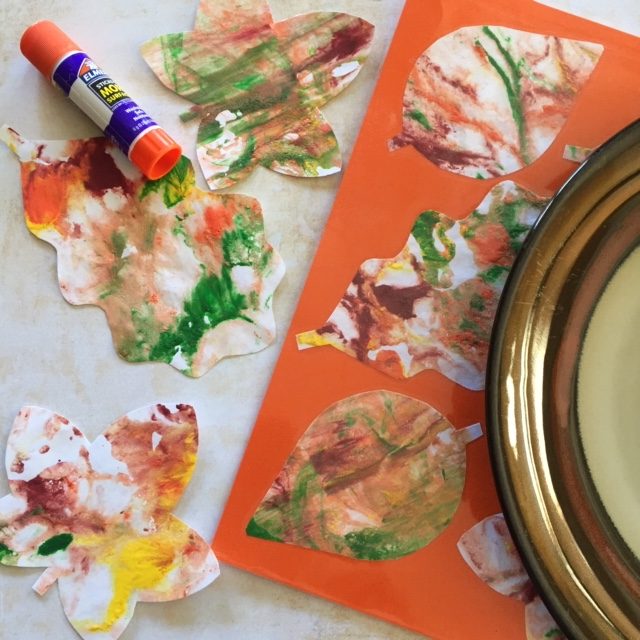
- Once the masterpieces are dry the next part of the fun begins. We’ve provided leaf patterns for a Fall placemat but you can cut them down for cards or notes and even frame them as gifts.
Fall Placemats:
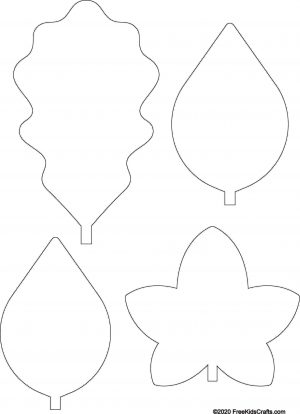
- Print and cut the leaves out of your dried prints using the pattern below.
- Glue the leaves to the large piece of card stock.
- Laminate according to directions to protect the placemats from damage.
Patterns, Templates and Printables
Click on a pattern to open it in a new window to print
![]()


Supplies
Instructions
Contributor
Want to have some creative family time? Print out our SudBudz® Masks and get crafty with the kiddos! More than just a typical Fizzy Bath Ball, SudPrize® is a first ever line of skin-loving and natural bath products that make bath time Fun for Kids and Easy for Moms. A Free companion App, SudBudz® engages your children into an immersive world of special and unique characters called SudBudz®.
0 thoughts on “DIY Fall Placemat (Great for Thanksgiving)”