


Winter Yarn Bug Craft
Christmas Crafts, Decorating Crafts, Early Elementary Craft, Pom Pom Crafts, teachers, Teen Crafts, Winter Crafts, Winter Misc. Crafts, Yarn Crafts
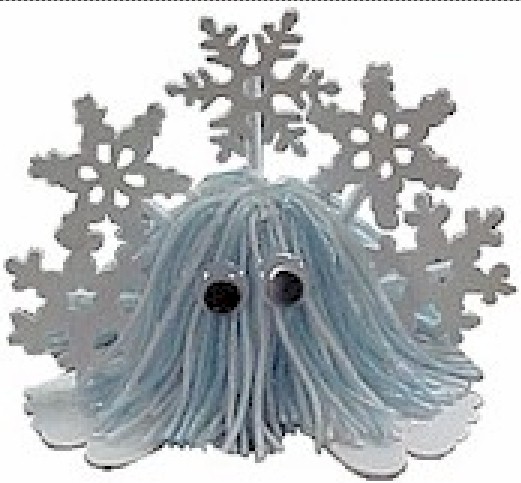
This Winter Yarn Bug is a fun way to spend the cold winter days inside. You can make one yarn bug or create a whole winter wonderland.
Trivia:
The earliest known yarn and fabric samples were estimated to be around 7,000 years old. These were found in Robenhausen, Switzerland and were bundles of fax fibers and yarns. Source: American Yarns – Some Facts About Yarn
Supplies
- White Yarn
- White Craft Foam or Card Stock
- Wiggle Eyes — 20mm
- 2-1/2″ Styrofoam Ball
- Pipe Cleaners
- Old 3½” Floppy Disk or Heavy Cardboard Cut to the Size of One
- Tacky Glue
- Snowflake Foamies
- Scissors
Instructions
- Make a pompom by wrapping yarn around a 5″ piece of cardboard at least 100 times. Mix colors or use all one color.
- Cut a 6″ piece of yarn and slide it under wrapped yarn. Tie tightly into a double knot.
- Turn cardboard over and cut completely through yarn on this side. Turn yarn blob sideways and smooth down strands.
- Press Styrofoam ball onto a hard surface to flatten bottom. (You can also use an egg carton section.)
- Cover the top and sides of the ball with tacky glue.
- Separate the strands of the pompom to fit the Styrofoam ball up inside.
- Press pompon into place. Arrange yarn.
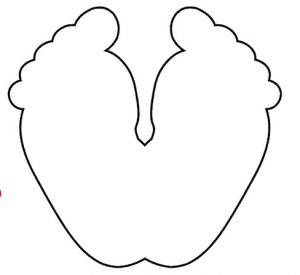
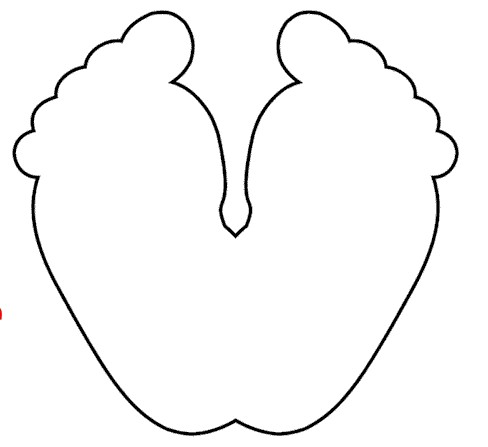
- Print any patterns your bug might need.
- Staple all around patterns onto craft foam or cardstock. Cut out pieces.
- Glue the bottom of the Styrofoam ball on to the foam or cardstock feet.
- Glue on the wiggle eyes.
- Cut pipe cleaners in half.
- Glue a foamie snowflake on one half of each pipe cleaner and poke the other end into your bug.
Patterns, Templates and Printables
Click on a pattern to open it in a new window to print in the correct size
![]()


Supplies
Instructions
Patterns, Templates and Printables
Click on a pattern to open it in a new window
Contributor

These projects are created by Terri, Betty, Jamie or one of the talented staff members at MakingFriends.com. They have been created exclusively for publication on FreeKidsCrafts.com with supplies you'll be able to find around your house.
Tags yarn bugs
0 thoughts on “Winter Yarn Bug Craft”